

Things you’ll be able to take away from this newsletter:
F stop and the power of light.
F stop and the power of depth of field
How easy it is to shoot in manual mode.
A casual check list for your settings.
The storytelling abilities of F stop.
Guiding the viewer with different F stop settings
But let’s begin here…
The sun is shining and I’m sitting on a wooden stool by the window in our local coffee shop, the one that serves the absolute best coffee in town.
The topic of choice today has been on my mind for a while, as it is such a great tool for you to hopefully get a better understanding of, as we dive further into the world of photography. Think of the F Stop as a painters paint brush, and let’s talk about how to use it.
Camera settings can be a daunting place, and on my Photography workshops I have participants who have only just bought a camera and find shooting in manual mode challenging, as well as seasoned photographers who are often way more experienced than I am.
What this post might offer to both camps, and everyone in between, is to learn to break the rules before we even begin, and get tangible advice on what beautiful opportunities the different settings of the F stop has, how easy it is to get familiar with them, and how to start “painting” with you camera settings.
And this is what I mean by “painting”.
Your camera settings have an incredible ability to help you tell compelling visual stories, and the F stop, or shallow depth of field, can become your paint brush. Let me explain what I mean.
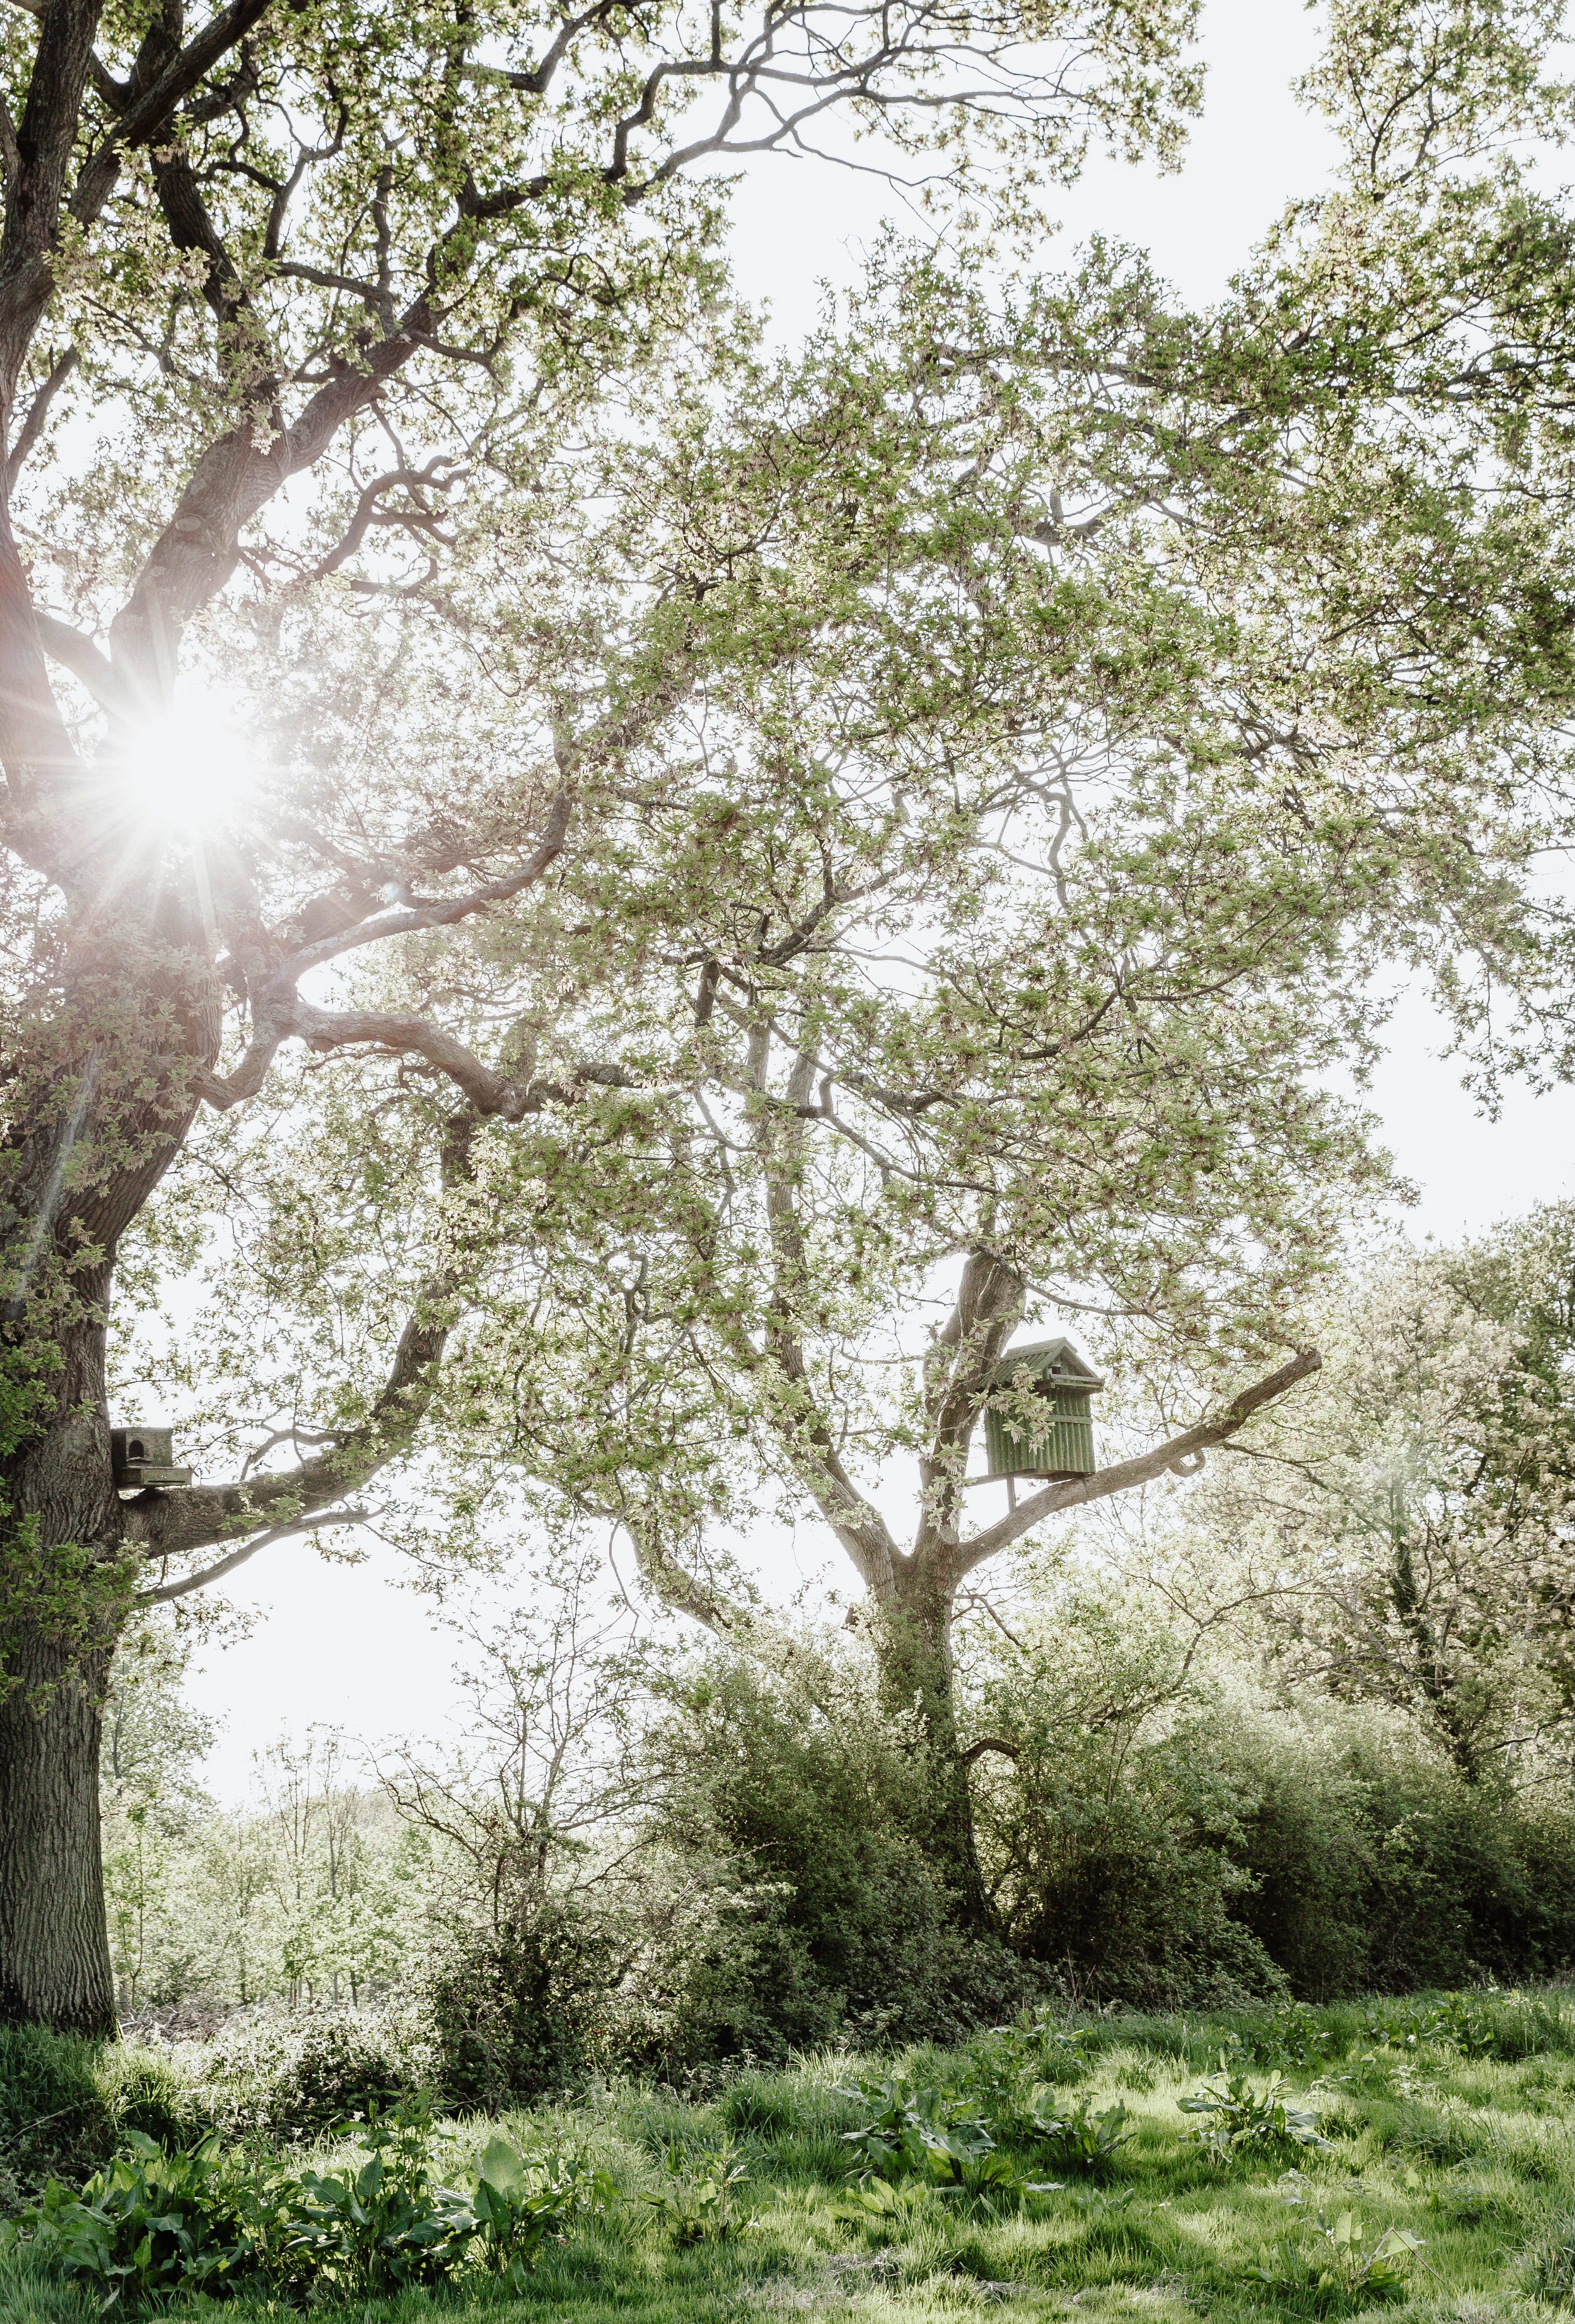
If you’ve already read my settings newsletter on ISO, which you can read here, let’s just adjust our cameras to manual mode, and together let’s take a walk in the English countryside on a sunny day in Spring. The green is fresh and wonderful, everything is being brought back to life.
The sky is bright, creating this golden tinted natural light, that descends on to the landscape, and with its soft rays of Spring sun, when the sun is still quite low angled on the horizon, the sun will be our partner in crime in creating a bit of magic.
I'll probably set my ISO at 400.
It could easily be ISO 200, or perhaps even ISO 100, depending on the brightness of the sky, but as you will learn from my post on ISO (read it here) I’ll pick an ISO that will work for me in general, in whatever outdoor or indoor setting I’m in, and more or less stick to it to lock in one of the holy grail of camera settings, ISO, F Stop, and Shutter speed. I do this to make it as easy for me as possible to shoot in manual mode, and get great results, without constantly having to change all three settings.
Keep reading with a 7-day free trial
Subscribe to From a kitchen in the country to keep reading this post and get 7 days of free access to the full post archives.